Skip to Main Content
Back to Navigation

How to Paint Tile Floors

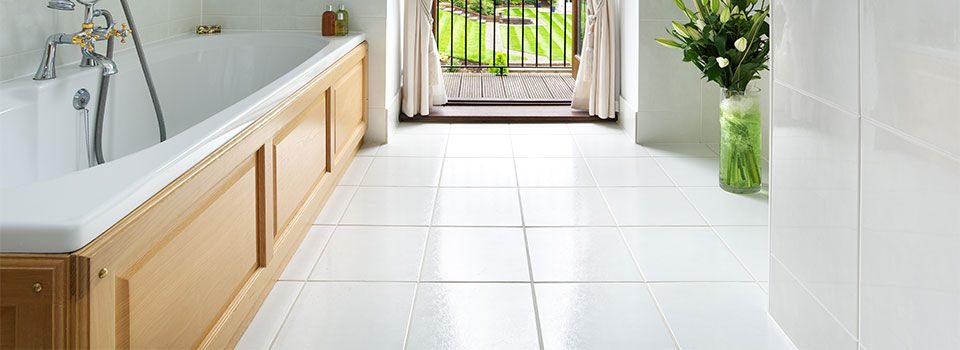
Bathroom with white tiles

Tile floors are durable and easy to clean, but they can start looking a little boring after a few years of use. If you have a tiled area that could use sprucing up, painting is one of the fastest and most affordable ways to change the floor. However, it’s not the easiest or longest-lasting way to change a floor. The paint will inevitably become chipped or scratched. If you don’t mind some extensive prep work and have a relatively dry area to paint, you should be able to get attractive results that last at least a few years.

Check the Condition and Make Repairs

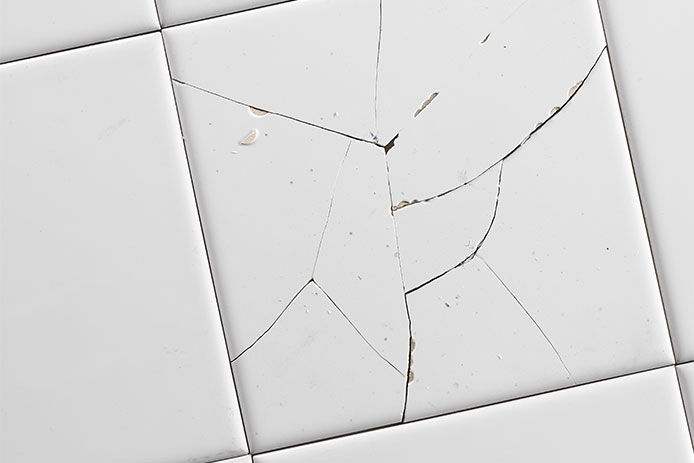
Cracked broken white tile, close-up

First, make sure the tile can actually handle being painted. Broken, cracked, and badly damaged tiles can’t be salvaged with paint alone. Remove and replace any chipped or damaged tiles before beginning, or choose to replace the floor entirely instead of painting.

Choose the Right Paint and Primer

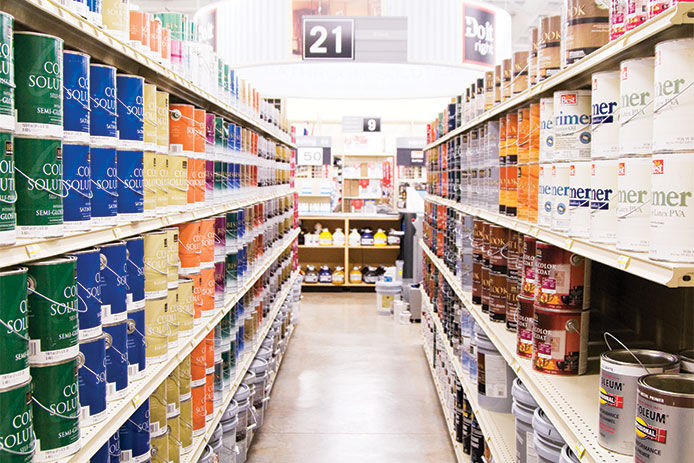
Looking down a store isle of paints and primers

You’ll need tile floor paint to succeed with this project, but it’s not enough on its own. Pick a tile floor primer that is either epoxy- or urethane-based. Both will work well with all types of floor paint, but they vary in their cost and the difficulty of application. Urethane is slightly easier, but it doesn’t always bond well to glazed and slick tiles. Epoxy offers a stronger bond. But is hard to handle and clean up, and it requires some practice to get right.

Make sure the tile floor paint you use doesn’t require or recommend a specific primer before making your selections. If there is a recommended product, always use it for the best results. Some manufacturers design both primers and paints to work together since tile floors struggle with bonding issues. Complete tile floor painting systems can increase the longevity of the finished floor, so make them your first choice if you’re new to the process. Latex paints are easier to clean up, but oil paints last longer and are more resistant to damage.

Deep Clean the Tile

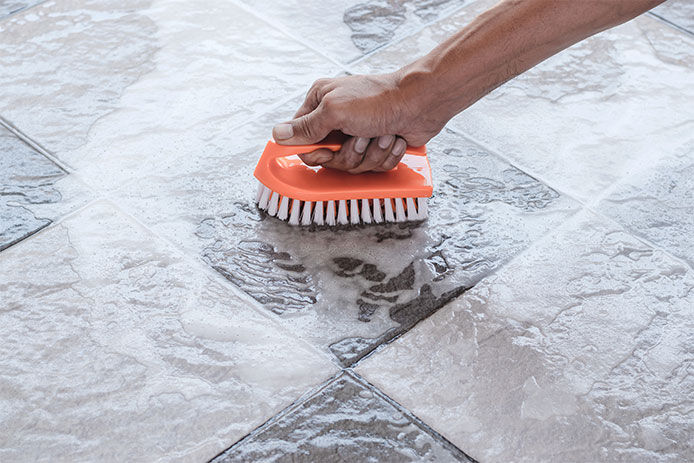
Scrubbing tile floor with an orange scrubber brush

Any dirt, grease, or sealants left on the surface of the ceramic tile will interfere with a strong bond from the paint. Scrub the tile and grout lines with a combination of 50% household bleach and 50% water. Use a stiff-bristled brush and work hard at any areas that are visibly stained or dirty. After mopping the tile clean with fresh water, use a TSP cleaning product for the deepest possible clean. This solvent is powerful and requires gloves and eye protection, but it will help you get the tile clean enough to accept a coating of paint. Don’t mix the TSP or bleach solution since they can react dangerously.

Consider Sanding the Surface

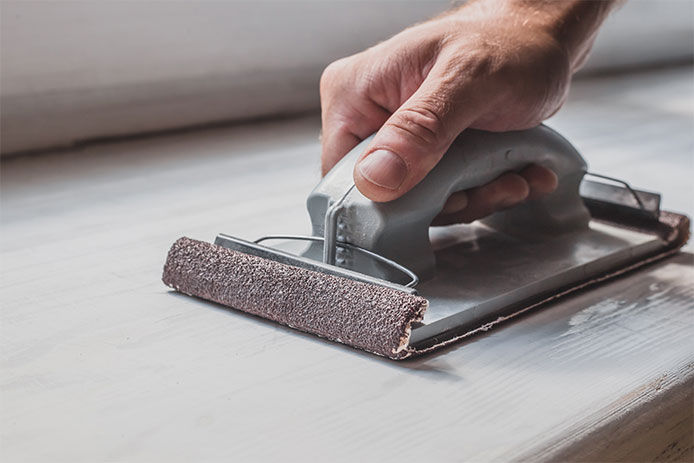
Person using a handheld sander, close-up

Most floor tiles, especially glazed ones that are still slick and shiny, benefit from sanding before painting. This roughens the surface much more than cleaning alone. Trying to sand even a small entryway by hand can seem impossible once you get started. Rent or buy at least a small handheld orbital sander, or better a larger walk-behind sander, to make faster work of the job. Vacuum thoroughly after sanding and then wash the tiles one last time with a weak bleach solution to clear away any residues.

Apply the Paint

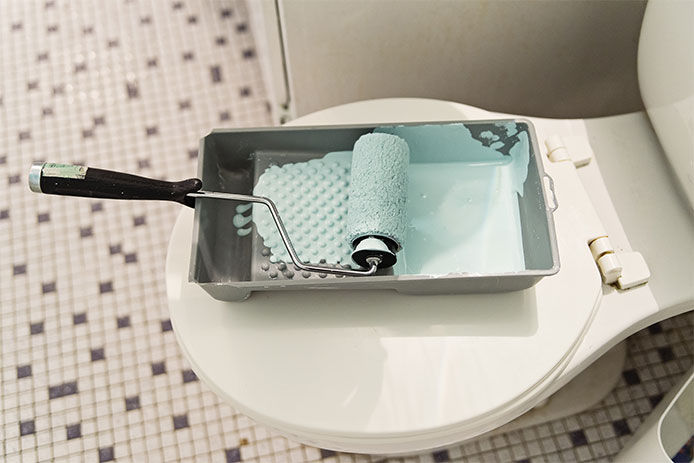
Paint roller and tray with a blue paint on the top of a toilet seat

Once you’ve prepared the floor thoroughly, it’s time to apply the primer. Both urethane and epoxy floor primers are generally rolled on, although you may be able to apply them by pouring a thin liquid on instead. Most manufacturers recommend brushing the grout lines with the primer to get a better application. This means you’ll likely need to brush all the grout first, then work your way toward the door or out of the area with the roller. Let the primer dry for at least two days before applying the paint. Some primers need 72 hours or more, especially in cold or humid areas.

Once the primer has fully dried and cured according to the instructions, it’s time to paint. The process is basically the same as for primer, with brushwork recommended for the grout lines and rolling for the rest of the tile. Let this layer of paint also dry and cure for 48 to 72 hours or longer. Most tile floors will need a second coat and its additional drying time to look their best. Plan to stay off the tiled area for a week or longer to get a good bond with the painted layers.

Seal the Surface

After all the layers of paint have dried and cured according to the manufacturer’s instructions, it’s still not time to walk on the floor just yet. Grab a floor sealant compatible with either oil- or latex-covered surfaces and apply it. Painted floors should be resealed at least annually to keep the surface protected at all times.

With patience and care, a painted tile floor can look as artistic and elaborate as you like. Try stencils, stamps, and marbling techniques to create something new without having to remove the existing flooring.


While do-it-yourself projects can be fun and fulfilling, there is always a potential for personal injury or property damage. We strongly suggest that any project beyond your abilities be left to licensed professionals such as electricians, plumbers, and carpenters. Any action you take upon the information on this website is strictly at your own risk, and we assume no responsibility or liability for the contents of this article.